Light play!
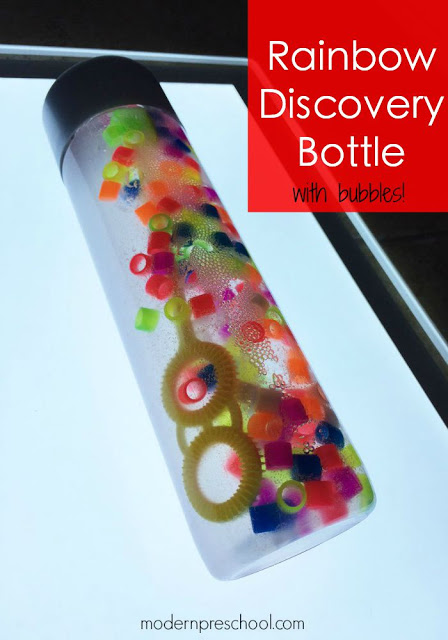
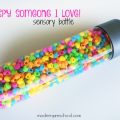
Discovery bottles can be soothing, educational, or just plain fun. For some reason, no matter what their purpose is, they are quite mesmerizing (even to me)! Our Rainbow Bubble Beads Discovery Bottle takes just minutes to put together and includes very simple materials that can most likely be found around your house.
My own children can be found blowing bubbles just about every day over the summer, so adding a bubble theme to this type of sensory play seemed perfect for the Discovery Bottles & Light Play Blog Hop!
This post includes affiliate links for your convenience.
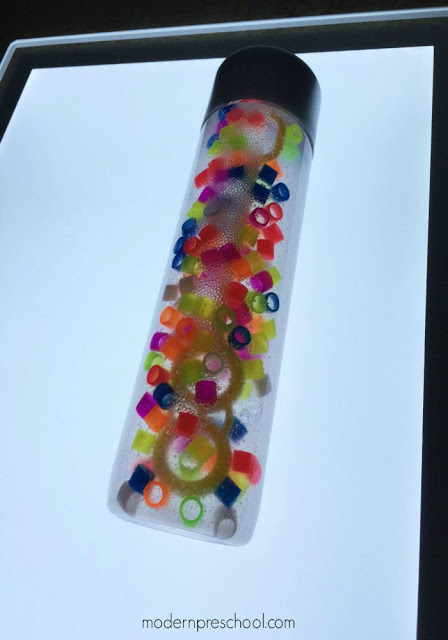
Our Rainbow Bubble Beads Discovery Bottle is so simple to put together! With this discovery bottle, using a water bottle like the one VOSS sells is perfect because it has an extra wide opening. The bonus about these bottles is that the top is flat and as wide as the bottle which allows the bottles to stand up on either end. I can find these in my local Publix, but they can also be found online.
Take the empty water bottle and add colored beads to the bottle. I chose neon colored beads that were slightly translucent (similar to these beads) from my local craft store. No beads? Try cutting up bright colored straws into smaller pieces!
Now for the bubbles!
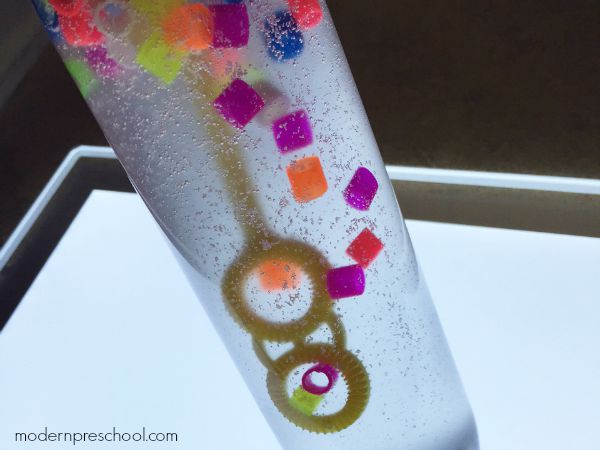
Around our house at this time of the year, there are extra bubble wands and toys from all the bubbles my kids are blowing and playing with outside during our lazy summer days. Grab a bubble wand that is similar in length to the bottle and stick it inside.
Add bubble solution to the bottle. It will get bubbly! Don’t fill it all the way up though. We added a few globs of clear hair gel that we had in our craft supplies. Just a few. Mix and push the get around in the bottle. I used a wooden chopstick to do this. This thickened the bubble solution so that the beads flowed at a slower pace without taking any of the bubble fun from the bottle.
Depending on how bubbly you prefer your bottle, you may or may not want to add a little hot water to finish filling the bottle. Adding water will dilute some of the solution, making it slightly less bubbly. Our proportions were 90% bubble solution, 5% gel, 5% water. I left a little room at the top so that the bubbles could be seen floating around in the water.
My preschooler would have preferred even more bubbles after the bottle was put on the light table!
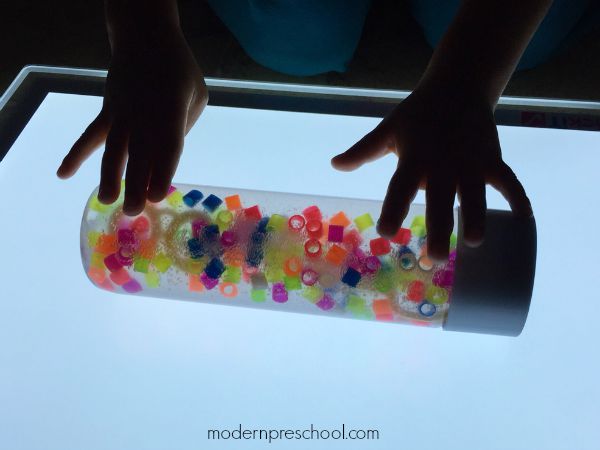
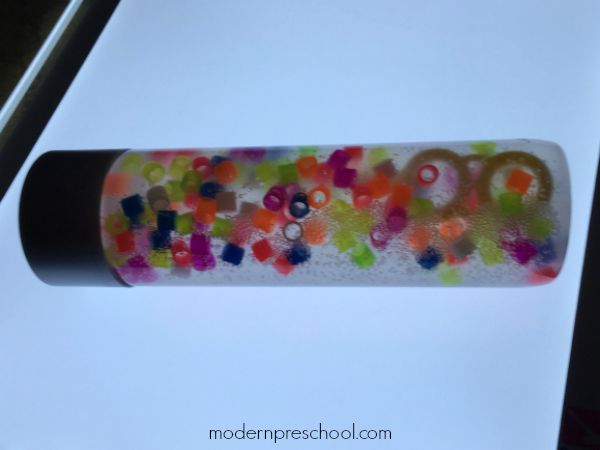
The Rainbow Bubble Beads Discovery Bottle can be played with right away or wait until the liquids and bubbles settle together. The more the bottle is played with, the more the bubbles disperse and the beads float throughout the liquid.
My preschooler loved rolling this sensory bottle around the light table. Watching the beads float through the bubbles was a soothing activity. Watching the beads make it through the bubble wand was super exciting!
The great thing about light play is that expensive light tables are not always necessary. Using natural light from a window in a dark room or a flashlight can also be used!
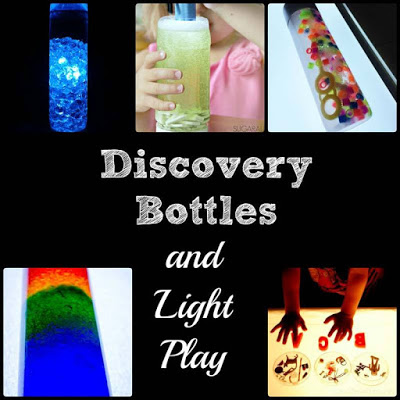
After you create your own Rainbow Bubble Beads Discovery Bottle for your home or classroom, check-out the other discovery bottles for light play from these fantastic bloggers!
Rainbow Discovery Bottle | Preschool Inspirations
Math Dominoes Discovery Bottle | Sugar Aunts
Color and Light Discovery Bottle | Left Brain Craft Brain
Phonics Discovery Dishes | One Time Through

This looks like a lot of fun! Thanks for sharing on #ToddlerFunFriday
I love your ideas. they would work for our library story time and activities. we have several babies that come that are too young for crafts and I need activities for them.
thanks
cheryl