Download and print the weekly activity calendar from the pink button below!
Day 1
Draw the Story: While listening to a book being read, draw a picture about the story. Don’t peek at the pictures, instead draw what is being read. To make this more fun, pick a book that hasn’t been read in a while. This is also an easy activity to introduce or talk about the setting, characters, and problem in the story!
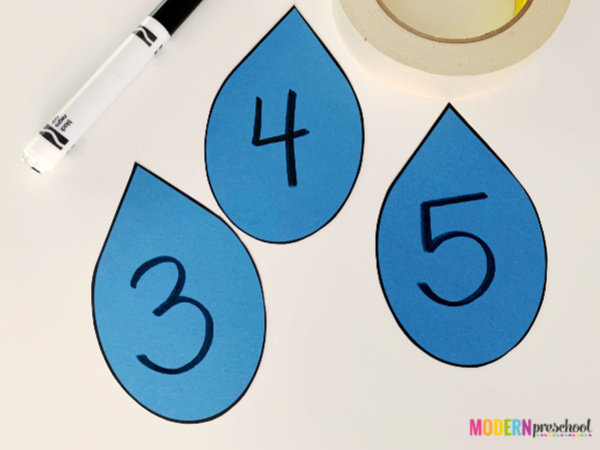
Collect the Drops: Using this printable pattern (or just cut out your own raindrops!) create a handful of blue paper raindrops. Hang them around the room or house. Now it’s time to find and collect them! Count the raindrops while collecting them. Consider adding numbers to the raindrops and collecting them in number order…maybe 1-10. Or add matching numbers to the raindrops and then collect the raindrops by number — so find one 2 and then the raindrop with the other 2.
Window Paint: Create quick window paint by combining 2/3 tempera paint with 1/3 dish soap. Mix it together to in a cup, bowl, or jar and add a paint brush. Now paint! Use any window or glass shower door to get creative. Mix up a few colors, or just stick to one. Practice letters in names, upper and lower case letters, or shapes. Simply rinse with the hose or shower if possible, or use glass cleaner to clean the paint when finished.
Day 2
Sticker Stories: Grab a piece of paper and some stickers. Choose the number of stickers to add to the paper. Fewer stickers are better, so maybe add 5 at most. After the stickers are placed, get out crayons, markers, or colored pencils. Add details around the stickers to create an entire detailed picture. Encourage using more than one color to draw. After the drawing is completed, ask to hear the story.
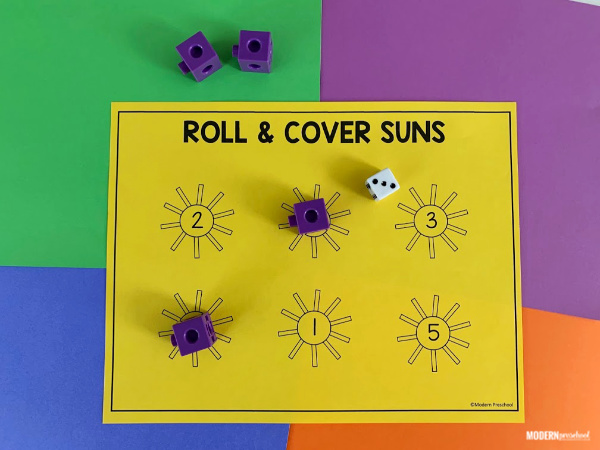
Roll & Cover Suns: Print this activity page or create your own. If creating your own, draw 6+ suns on a paper. Add the one number 1-6 to the middle of each sun. Add dice to the activity. Roll one die, count the dots, and cover the suns with the same number on the page. Use a button, bead, or pom pom to cover the sun. Keep rolling and covering until all suns are covered.
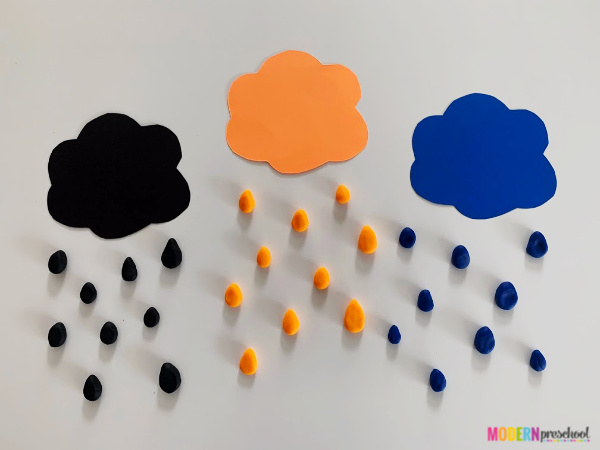
Play Dough Raindrops: Quick prep can include drawing clouds in different colors OR a few clouds with different numbers on them. It will depend on if you have different colored play dough at home. If you do, draw clouds in those specific colors. If you do not, draw clouds with different number on them. Raindrops can be created out of play dough and added below the clouds. Either add the same color play dough raindrops or the correct amount of play dough raindrops to the clouds. Raindrops can be tricky to make out of play dough, so practice pinching off a small piece and rolling it into a ball before forming a raindrop shape!
Day 3
Find the Alphabet: Write letters on a piece of paper. Spacing out 9 letters on one paper in 3 rows of 3 letters would work best. Add those same letters to post-its. Write one letter to each post-it. Stick the post-its around the house in different rooms. Add the paper to a clipboard. Find each letter and stick the post-it on the matching letter on the paper. To add more of a challenge, use more post-its with letters than are listed on the paper!
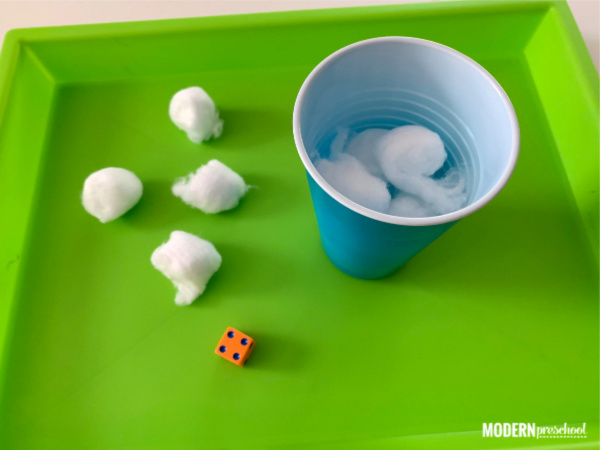
Cloud Fill the Cup: Grab a bunch of cotton balls, a cup, and a die. Roll the die, identify the number, and add that many cloud cotton balls to the cup. Count each cotton ball as it is added to the cup. Keep rolling, counting, and adding clouds to the cup until it’s full! Dump it out and play again.
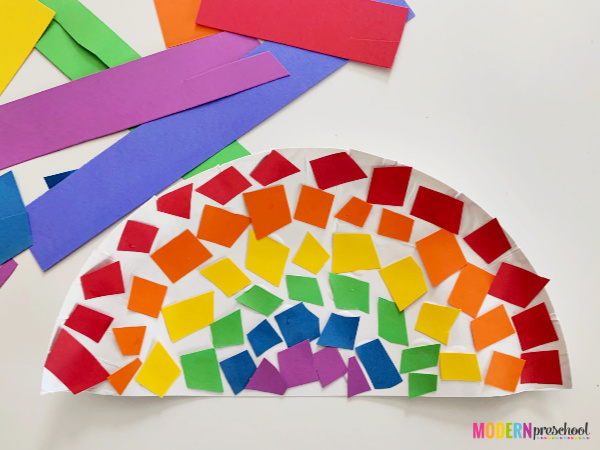
Paper Plate Rainbows: Cut a paper plate in half. Cut up small pieces of red, orange, yellow, green, blue, and purple paper. Sort the colored paper into different piles. Starting with red, glue the red an arch of red papers along the top of the paper plate. Under that row, glue the orange. Then glue the yellow row, then the green, then the blue, and finally the purple at the bottom. Add a string to the top and hang the rainbow after it dries! Use paint or markers if you don’t have paper on hand.
Day 4
Cloud Writing: Cover the bottom of a tray or plate with salt, baking soda, or even flour to act as the cloud. Practice writing letters, numbers, shapes, or even short CVC words in the cloud. Use your finger, a small paintbrush, or unsharpened pencil to write with.
Color Sorting Rainbows: Grab these printable colored rainbows or draw your own in different colors. Collect items and small toys and add them to a tray or bin. Pull out an object, identify the color of the object, and add it to the matching colored rainbow. Keep sorting the objects by color until the tray is empty! You can also get fancy and put it all together as a sensory bin too.
Drip Drop Colors: Add drops of food coloring to water in cups.Use red, blue, and yellow food coloring. Using medicine syringes or droppers and glass cups filled 1/2 way with water, drip red, blue, and yellow water into the glasses. Keep the color mixing to 2 colors per glass. Watch the colors change when the drops are added!
Day 5
Finish the Picture: The object is to finish the details of a picture. So start drawing a picture by maybe adding clouds and grass, and then give the paper to your preschooler to finish. After that picture is completed switch roles! Have your preschooler start a picture and give it to you to finish. Share the stories of each picture with each other!
Color Scavenger Hunt: On a 1/2 piece of printer paper paper draw and color in circles in different colors. Add a line to the side of each color. Staple the paper to a brown lunch bag. Look around the house for things that are each color. Add an X or check mark on the side of the color when that color is found. All things found must fit in the bag. Search until all colors are found. Share the colorful treasures when the scavenger hunt is complete.
Shaving Cream Drawing: Add shaving cream to a tray, window, or shower wall. Rub it all around to create a smooth surface of shaving cream. Draw silly faces, letters, pictures of people or animals, and more in the shaving cream. Erase the picture drawn by smoothing out the shaving cream again! To add a little more fun to the activity, wear a swim suit in the bath tub while drawing! See an example here.
So there it all is for Week #1!
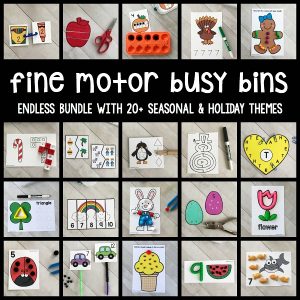
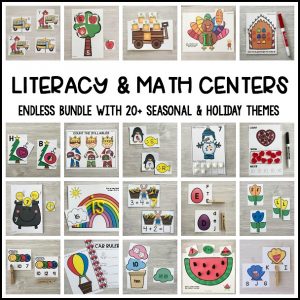
Hopefully it seems super easy for you and you aren’t feeling overwhelmed. Remember, if you are ever looking for more in-depth printable options, you can check out these products:

How fun are the activities that are planned for our Preschool on the Go – Week #1!
Now don’t forget to grab the printable outline for the week!
Hang it on your refrigerator so you can glance up at it to see what is planned each day. Keep the digital copy available to quickly click to access this page at any point for details about the activities.

You can access all of the Preschool on the Go activities from the main page!